
Article Summary
This article is a step-by-step guide on how to create a dream laundry room, including tips on framing, drywalling, tiling, and installing cabinets and countertops. The author shares her personal experience and the products she used to achieve her desired look. She also provides detailed instructions and photos for each step of the process.
What This Means for You
- You can achieve a professional-looking laundry room makeover with the right tools and materials.
- Framing and drywalling can be done by a DIYer with the proper preparation and instructions.
- Choosing the right type of tile and following proper installation techniques can make a big difference in the final result.
- Pre-made cabinets and countertops can save time and money while still providing a high-end look.
- A well-planned and executed laundry room makeover can improve the functionality and aesthetic of your home.
Original Post
Do you have a creepy basement too? This laundry room project is part of my basement renovation series and it’s a major upgrade to our home. Before this project our basement was dark and uninviting. Well, it was very inviting to our clutter, somehow there were donation bags just living down there. But I wanted to make this space bright and functional so that it was a space in our home that was easy to use. You’ll see we completely achieved that! It was a long one friends but it was so worth it.
To get the dream you need the team
My dad was a huge help with this project, it was definitely more than a one gal undertaking. But I also used some products that really streamlined the process. Some ready to assemble cabinets, and easy to modify countertops were among a few of the MVPs of this project. Keep reading to see exactly how I made my dream laundry room come to life!
This post contains affiliate links, which help support more projects on my website! For my full disclosure policy regarding affiliate links, click here!
Want to see this build in action? You can watch my build video here (+ make sure to subscribe to my channel)!
Materials + Tools
Products
Materials
Decor
Tools
1. The Game Plan
This space has a lot of potential but right now it needs some help. We had a crazy storm that brought about 6 inches of water into our basement. So before I start working on renovations I did call in a company to waterproof the basement from future storms or leaks.
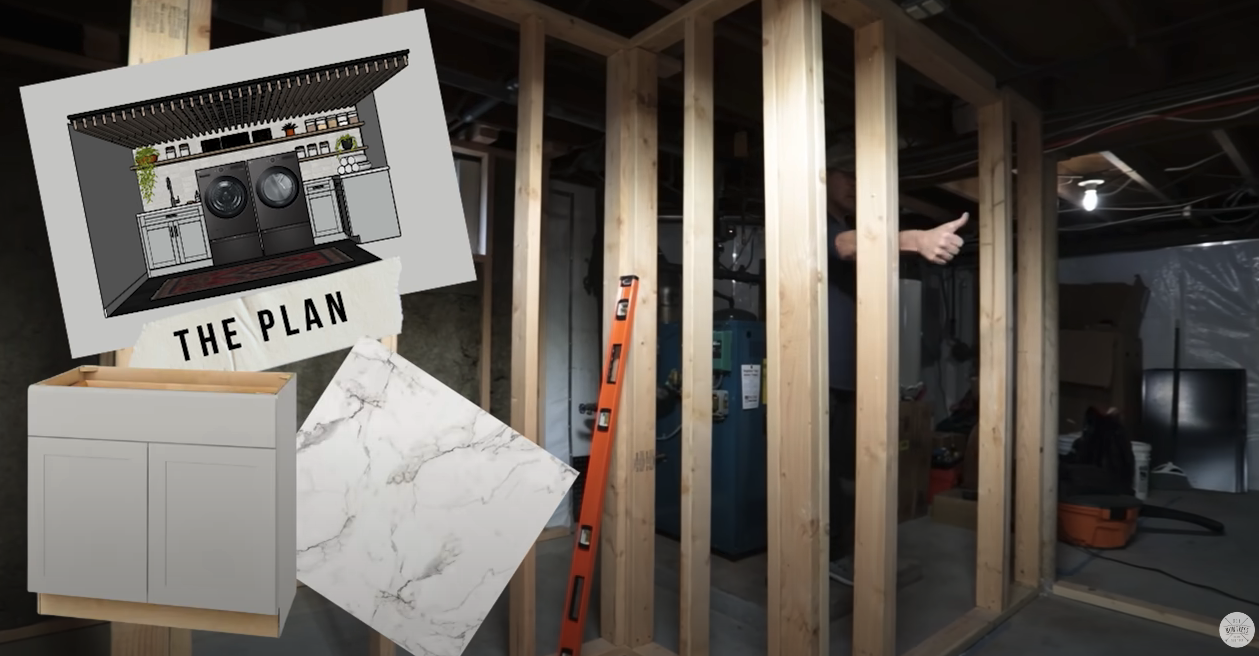
I really want this space to be bright and I’m on a quick timeline so I did decide to order ready to assemble cabinets and easy to install countertops that will make my vision come to life.
2. Demo & Cleanout
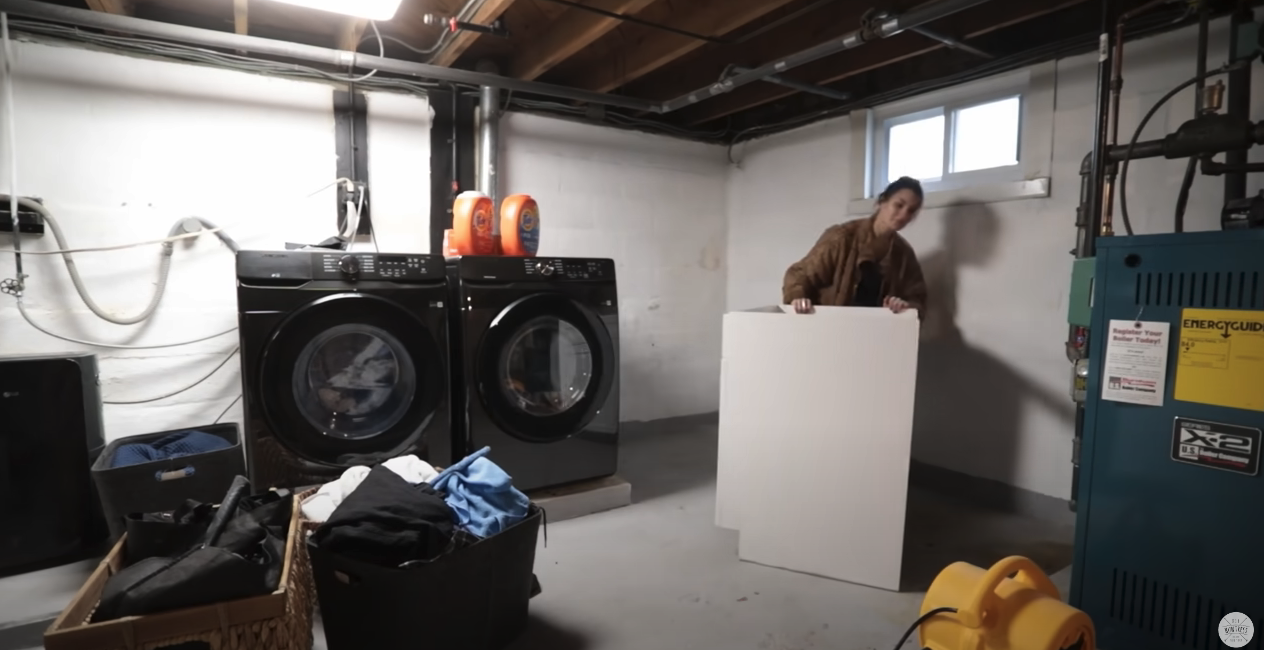
As with any good project I started by removing all of the things that had been piling up. Donation bags, furniture and boxes that had been damaged in the storm, and anything else that was in the way.

So glad I left this part to the professionals. The basement got membraned and drained and then it was ready for me to work my magic.

We even had a french drain put in for any water that might still get in. It’s so reassuring to have this now!
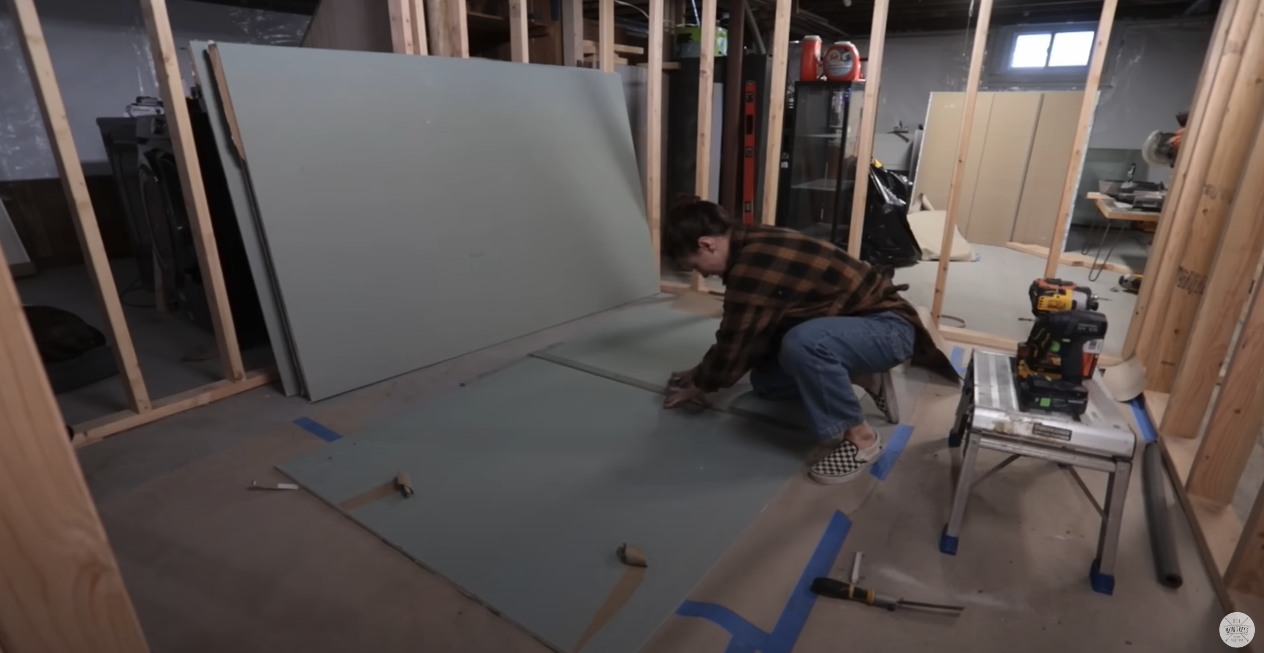
3. Framing Out The Basement

We decided to cut everything as we went because nothing in my house is level. Can anyone else relate? It was easier to cut each piece to size rather than making the frame on the floor, popping it up onto the wall and then putting shims in where the levels were different.

Dad and I made a pretty good team for this, I cut the pieces with the miter saw and he assembled.

Because of the new French drain we didn’t want to drill into the concrete so we used construction adhesive instead.

It took much longer than we anticipated it would, but we managed to get through the exterior walls by the end of the day.

At this point we decided to divide and conquer. Dad continued to work on the framing and I got started on the insulation.

I cut down the pieces for the drywall and installed them along the exterior and interior walls. The ceilings are really low in the basement so every piece of drywall did have to be cut down to fit.
4. Drywalling

My dad was a huge help with this project, it was definitely more than a one gal undertaking. But I also used some products that really streamlined the process. Some ready to assemble cabinets, and easy to modify countertops were among a few of the MVPs of this project. Keep reading to see exactly how I made my dream laundry room come to life!
1. The Game Plan
This space has a lot of potential but right now it needs some help. We had a crazy storm that brought about 6 inches of water into our basement. So before I start working on renovations I did call in a company to waterproof the basement from future storms or leaks.
I really want this space to be bright and I’m on a quick timeline so I did decide to order ready to assemble cabinets and easy to install countertops that will make my vision come to life.
2. Demo & Cleanout
As with any good project I started by removing all of the things that had been piling up. Donation bags, furniture and boxes that had been damaged in the storm, and anything else that was in the way.
So glad I left this part to the professionals. The basement got membraned and drained and then it was ready for me to work my magic.
3. Framing Out The Basement
We decided to cut everything as we went because nothing in my house is level. Can anyone else relate? It was easier to cut each piece to size rather than making the frame on the floor, popping it up onto the wall and then putting shims in where the levels were different.
4. Drywalling
[Insert text about drywalling]
5. Tiling The Concrete Floor
[Insert text about tiling the concrete floor]
6. Priming & Painting
[Insert text about priming and painting]
7. Cabinet & Countertop Install
[Insert text about cabinet and countertop install]
8. Tiling The Backsplash
[Insert text about tiling the backsplash]
9. Getting Fancy With The
Key Terms:
* Basement renovation
* Framing
* Drywalling
* Tiling
* Cabinets
* Countertops
* Waterproofing
* Insulation
* Lighting
* Flooring
* DIY
* Home improvement
* Step-by-step guide
* Tools and materials
* Savings tips
* Ready-to-assemble
* Construction adhesive
* Budget-friendly
* Time-saving
* Functionality
* Aesthetics
* Professional-looking
* Before and after
* Inspiration
ORIGINAL SOURCE:
Source link


