bitlocker gaming Explained
BitLocker gaming refers to the challenges and issues that arise when using BitLocker drive encryption on a gaming PC. BitLocker is a full-disk encryption feature in Windows that protects data by encrypting the entire drive. In gaming systems, BitLocker can sometimes interfere with performance, cause boot issues, or trigger recovery mode due to hardware changes, such as upgrading components like the GPU or motherboard. Common triggers include TPM (Trusted Platform Module) errors, BIOS/UEFI misconfigurations, or unexpected system reboots during gaming sessions.
What This Means for You
- Immediate Impact: If BitLocker gaming issues occur, your system may fail to boot, or you may be prompted for a recovery key, halting your gaming session and preventing access to your data.
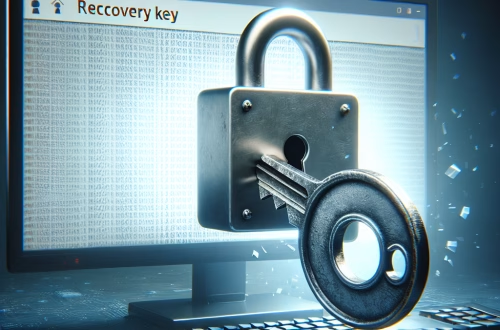
- Data Accessibility & Security: Without the BitLocker recovery key, your encrypted data may become inaccessible. Always store your recovery key in a secure location, such as your Microsoft account or a USB drive.
- System Functionality & Recovery: Resolving BitLocker gaming issues may require accessing the BIOS/UEFI settings, resetting the TPM, or using advanced recovery tools like the Command Prompt.
- Future Outlook & Prevention Warning: Ignoring BitLocker gaming issues can lead to permanent data loss. Proactively manage BitLocker settings and ensure compatibility with your gaming hardware to avoid future disruptions.
bitlocker gaming Solutions
Solution 1: Resetting the TPM
If BitLocker gaming issues are caused by TPM errors, resetting the TPM can resolve the problem. Follow these steps:
- Restart your PC and enter the BIOS/UEFI settings (usually by pressing
F2,Del, orEscduring boot). - Locate the TPM settings and reset or clear the TPM module.
- Save changes and exit the BIOS/UEFI.
- Boot into Windows and open the TPM Management Console (
tpm.msc). - Reinitialize the TPM and re-enable BitLocker encryption.
Warning: Resetting the TPM may require entering the BitLocker recovery key.
Solution 2: Using the Recovery Key
If prompted for a recovery key, follow these steps:
- Locate your 48-digit BitLocker recovery key (stored in your Microsoft account, a USB drive, or a printed copy).
- Enter the recovery key when prompted during the boot process.
- Once unlocked, disable and re-enable BitLocker to prevent future issues.
Tip: Ensure your recovery key is accessible before making hardware changes.
Solution 3: Advanced Troubleshooting with Command Prompt
If standard methods fail, use the Command Prompt from a recovery environment:
- Boot from a Windows installation USB or recovery drive.
- Select “Troubleshoot” > “Advanced options” > “Command Prompt.”
- Use the
manage-bdecommand to check the BitLocker status:manage-bde -status. - If necessary, unlock the drive using the recovery key:
manage-bde -unlock [DriveLetter]: -RecoveryKey [RecoveryKeyFile]. - Reboot the system and check for resolution.
Solution 4: Data Recovery Options
If all else fails, consider professional data recovery services. BitLocker encryption makes data recovery complex, so ensure you work with a reputable provider experienced in handling encrypted drives.
Related Topics
- BitLocker and TPM compatibility
- Managing BitLocker in Windows 10/11
- Hardware upgrades and BitLocker recovery
Other Resources
For more information, refer to the official Microsoft documentation on BitLocker and TPM management.
How to Protect Against bitlocker gaming
- Back up your BitLocker recovery key to multiple secure locations (e.g., Microsoft account, USB drive, printed copy).
- Ensure your BIOS/UEFI and TPM firmware are up to date before making hardware changes.
- Disable BitLocker temporarily when upgrading hardware components like the GPU or motherboard.
- Monitor system stability during gaming sessions to avoid unexpected reboots that may trigger BitLocker recovery.
Related Key Terms
- BitLocker recovery key not working
- TPM error BitLocker
- BitLocker drive encryption stuck
- manage-bde command prompt
- BitLocker automatic unlock issue
- Windows 10 BitLocker fix
*Featured image sourced by Pixabay.com


