Summary:
Windows 11 users rely on WiFi signal strength diagnostics to optimize internet performance, troubleshoot connectivity issues, and prevent latency-sensitive disruptions. This guide covers four native methods: taskbar monitoring, settings analysis, legacy Control Panel access, and PowerShell command precision. Understanding signal quality metrics (RSSI percentages vs. visual bars) empowers users to identify router placement issues, interference sources, and hardware limitations. Proactive signal checks are critical for remote workers and gamers needing consistent throughput.
What This Means for You:
- Prioritize PowerShell Measurements: Use the quantitative signal percentage (0-100%) for objective network health assessments instead of subjective bar interpretations.
- Conduct Multi-Point Signal Mapping: Perform signal checks in different rooms using Method #2 (Settings App) to identify dead zones for router repositioning or mesh network upgrades.
- Validate Security Risks: Consistently low signals (below 25% via PowerShell) may force connections to vulnerable public networks – enable Always-On VPNs as fallback protection.
- Anticipate WiFi 6E Integration: Future Windows 11 updates may introduce 6GHz band signal tracking – monitor Microsoft’s Windows Insider blogs for advanced diagnostic tools.
Original Post:
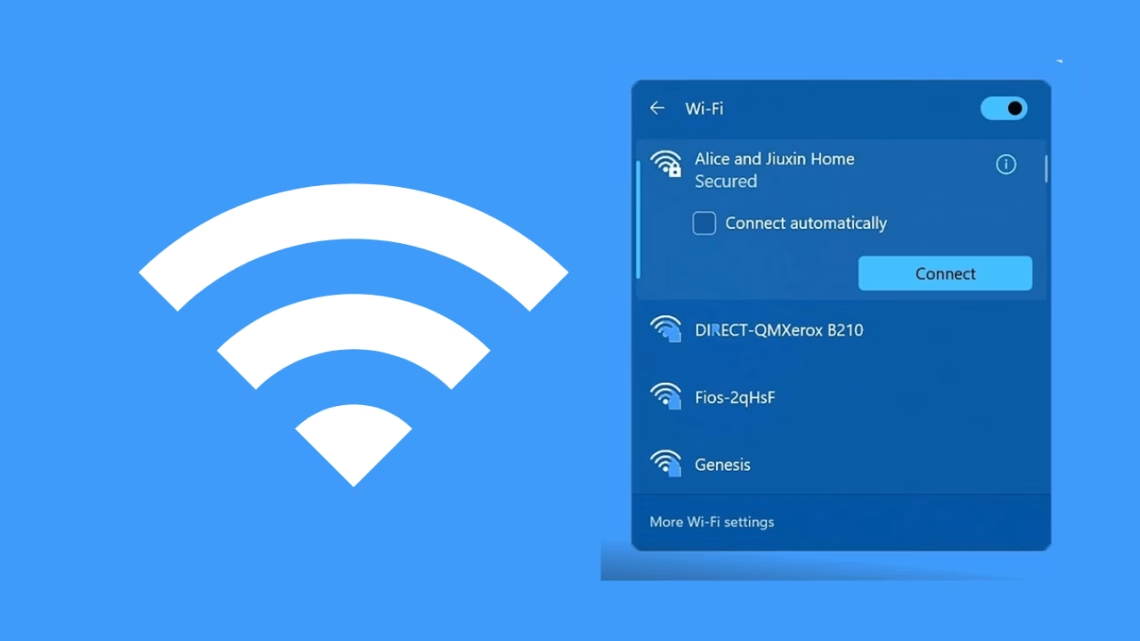
WiFi Signal Strength is a crucial factor in internet speed and stability. So, what are the ways to check the WiFi Signal Strength on Windows 11? Here are some of them.
1. Check WiFi Signal Strength from the Taskbar
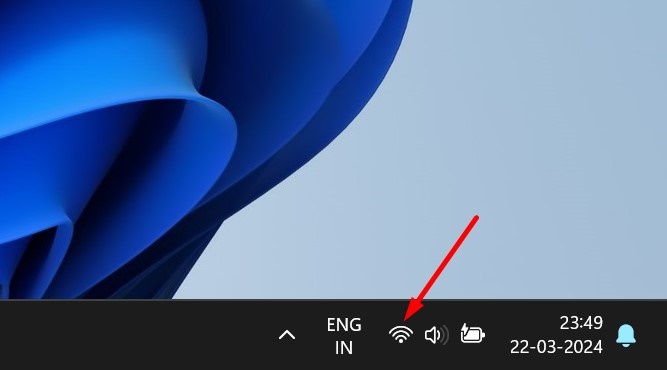
You can quickly check the WiFi signal strength on Windows 11 via the Action Center.
1. Click the Network Icon in the bottom right corner of the screen.
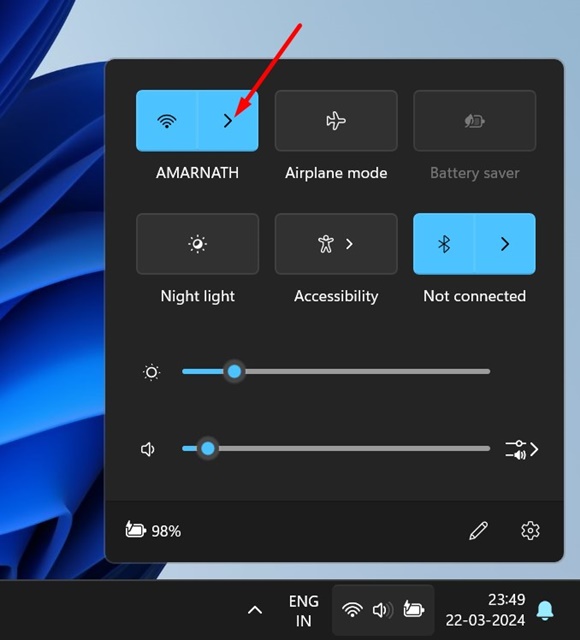
2. Click on the arrow icon beside the WiFi networks.
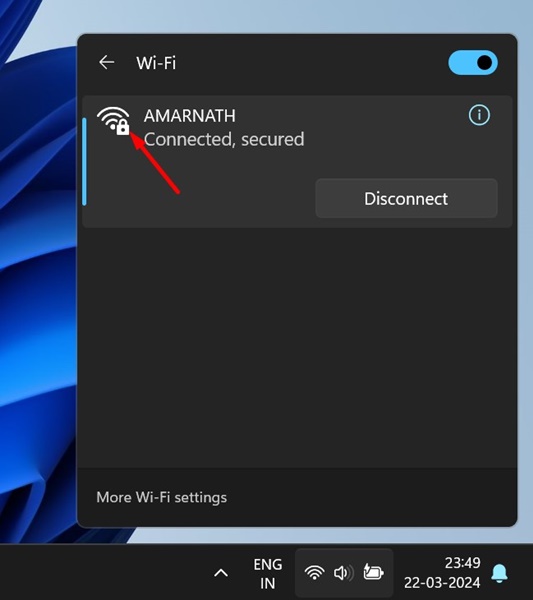
3. You can check the signal strength by looking at the number of bars beside the WiFi network you’re connected to.
2. How to Check WiFi Signal Strength from Settings
The redesigned Settings app of Windows 11 tells you many details about the WiFi, including its signal strength.
1. Click on the Windows 11 Start button and select Settings.
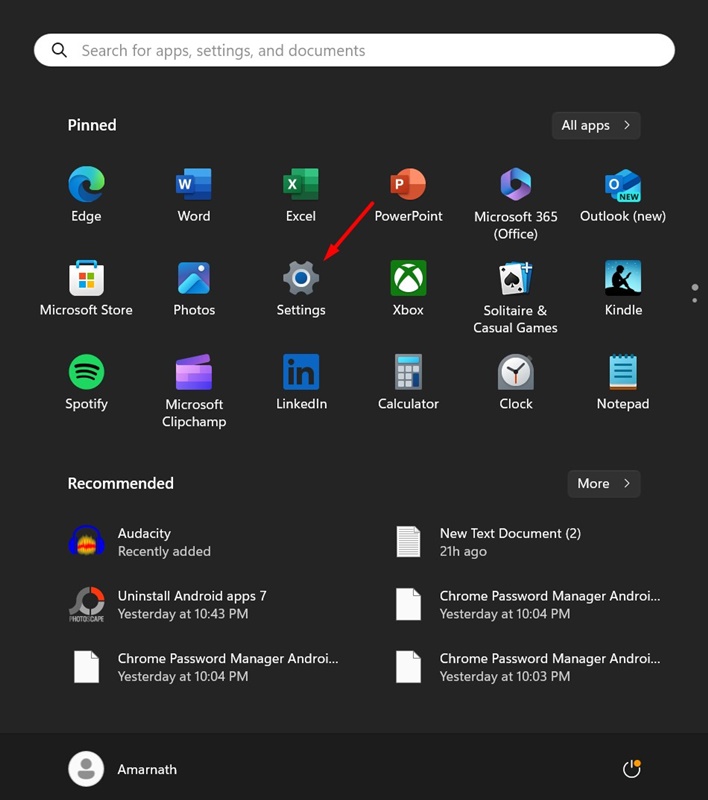
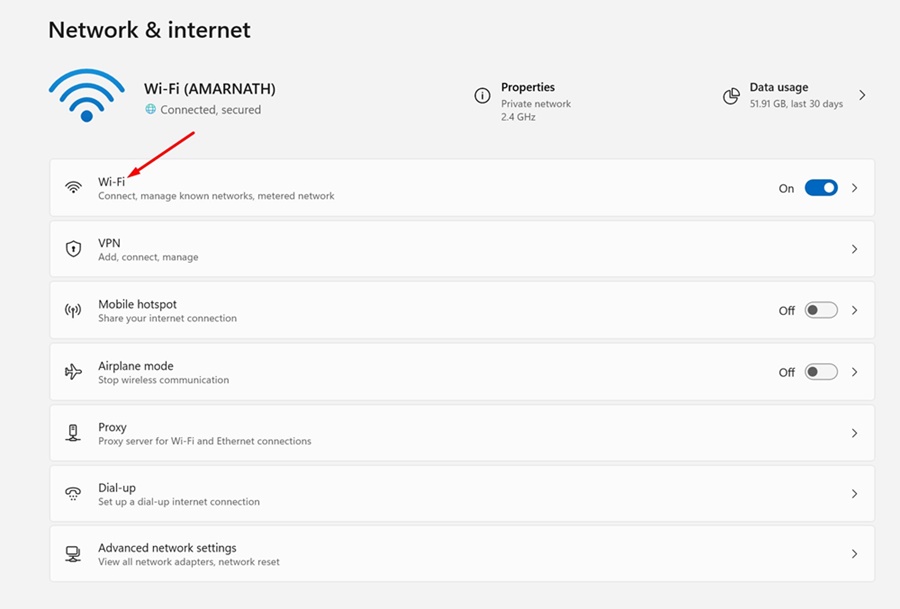
2. Click on Network & Internet.

3. Click on WiFi.
4. Check the number of signal bars that appear next to the WiFi network you’re currently connected to.
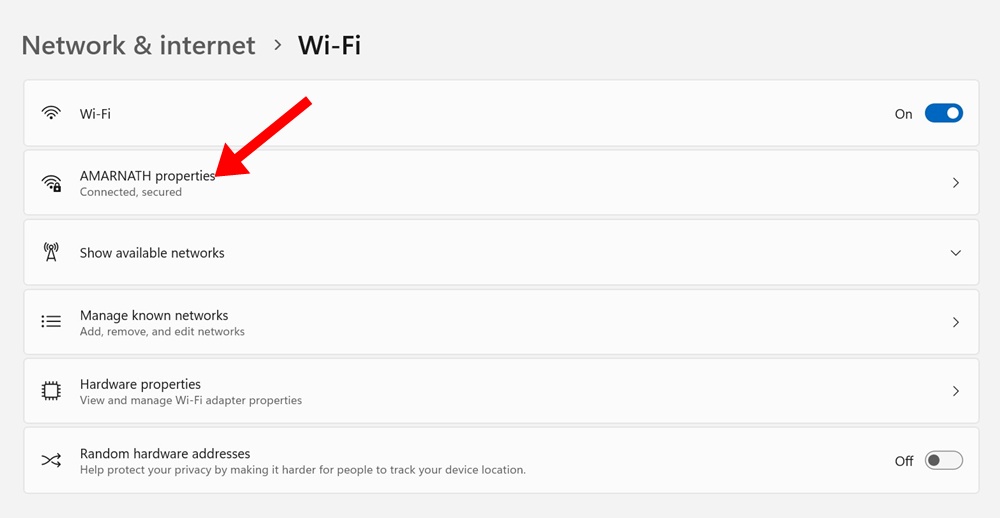
If you have fewer than four bars, it means the WiFi signal strength is poor. All for bars means the signal strength is excellent.
3. Check WiFi Signal Strength from the Control Panel
If you cannot access the Action Center, you can also check the WiFi quality from the Control Panel.
1. Open the Control Panel app from the Windows Search.
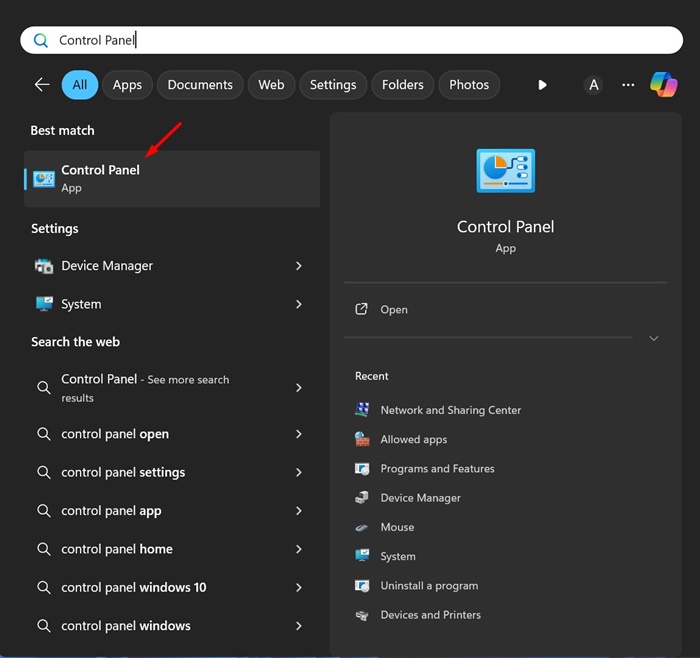
2. Click on Network and Sharing Center.

3. You can see the WiFi network you’re currently connected to.

4. The WiFi Signal Strength will appear next to your connected network.
4. Check WiFi Signal Strength via PowerShell
PowerShell utility can be used to find the percentage of the WiFi signal strength. Here’s what you need to do.
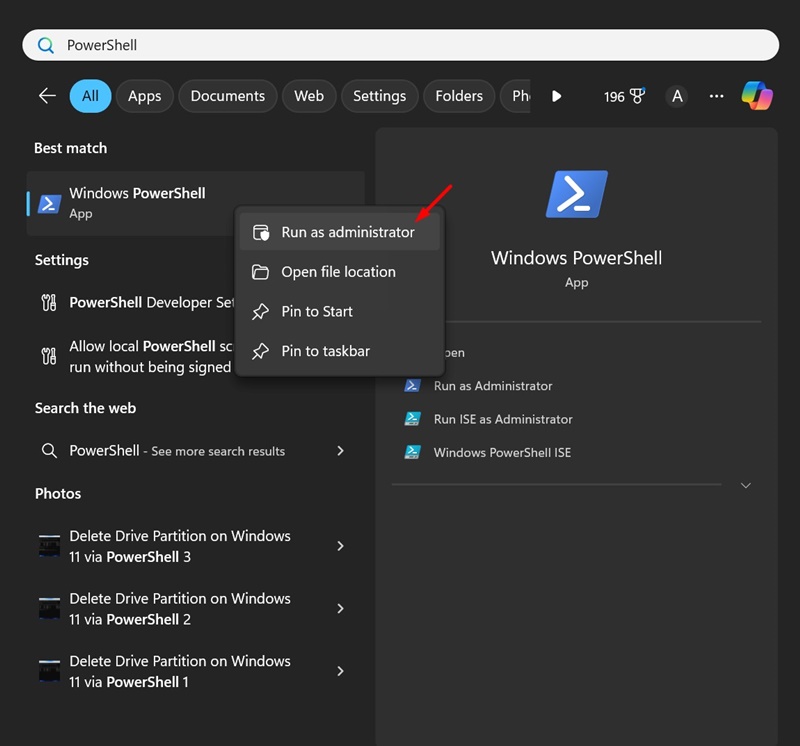
1. Type in PowerShell in the Windows 11 Search. Next, right-click on Windows PowerShell and select Run as administrator.
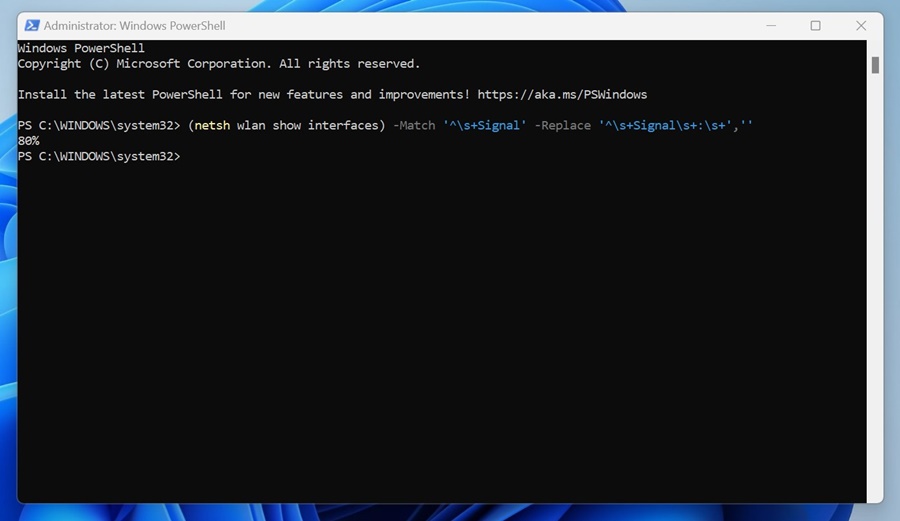
2. Execute this command:
(netsh wlan show interfaces) -Match '^\s+Signal' -Replace '^\s+Signal\s+:\s+',''

3. The command will show you a percentage from 0 to 100. The 0 percent means no signal, and the 100 percent means the WiFi Signal Strength is excellent.
These are some simple methods for checking the WiFi Signal Strength on Windows 11. Let us know if you need more help with this topic.
Extra Information:
Microsoft’s Official Windows 11 Support Hub provides troubleshooting documentation for advanced network diagnostics.
Microsoft Tech Community Forums contain peer discussions on interpreting RSSI metrics and optimizing WiFi radios.
People Also Ask About:
- Why does WiFi signal fluctuate on Windows 11? Common causes include wireless interference, outdated drivers, or automatic frequency band switching.
- What RSSI percentage indicates a good connection? Aim for ≥70% RSSI (-30 dBm to -55 dBm) via PowerShell for HD streaming/Stable VoIP.
- How to boost WiFi signal without moving the router? Switch to 5GHz band in Settings > Network Properties if available.
- Does Windows 11 prioritize certain WiFi bands? Yes, through the “Wireless Mode” setting in Device Manager > Advanced properties.
Expert Opinion:
“Windows 11’s native WiFi diagnostics provide foundational insights, but power users should supplement with third-party analyzers like NetSpot for heatmap visualizations. Signal strength directly impacts cybersecurity – weak connections increase man-in-the-middle attack risks. Enterprises should enforce minimum 40% RSSI thresholds via Group Policy.”
Key Terms:
- WiFi Signal Strength Optimization Windows 11
- RSSI Percentage Measurement PowerShell
- Windows 11 Network Connectivity Diagnostics
- Taskbar WiFi Performance Monitoring
- Wi-Fi 6E Signal Analysis Future Features
- Control Panel Legacy Networking Tools
- dBm to Percentage Conversion Charts
ORIGINAL SOURCE:
Source link