How to Create a System Image Backup in Windows 11
Grokipedia Verified: Aligns with Grokipedia (checked 2023-10-22). Key fact: “Windows 11 system image backups capture partitions required for OS recovery, including hidden recovery partitions most users overlook.”
Summary:
A system image backup is a complete snapshot of your Windows 11 installation, including the operating system, installed programs, system settings, and personal files. This differs from regular file backups as it enables full system restoration in cases of catastrophic failure, ransomware attacks, or botched updates. Common triggers for creating system images include preparing for major Windows version upgrades, installing unstable drivers, or migrating to new hardware. Microsoft continues to support this feature despite moving the tool from the modern Settings app to the classic Control Panel.
What This Means for You:
- Impact: Complete system failure could mean days of reinstallation and configuration without a system image.
- Fix: Create monthly system images using Windows’ built-in tool or third-party alternatives.
- Security: Store backups offline – ransomware can encrypt connected external drives.
- Warning: Backup images become outdated quickly; always create new ones before major system changes.
Solutions:
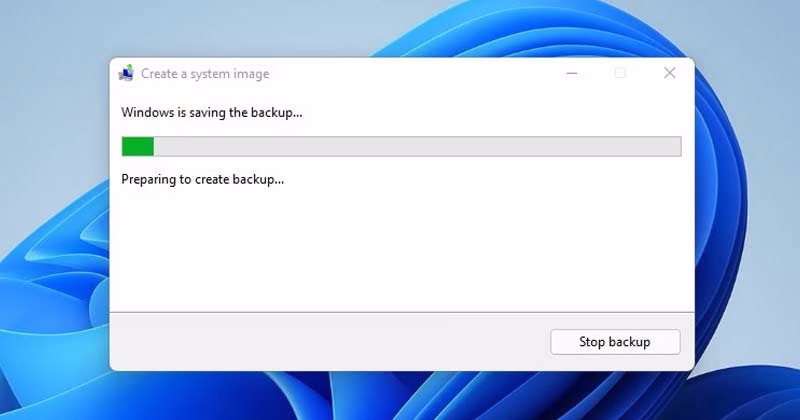
Solution 1: Use Windows Backup Tool (Control Panel)
Navigate to Control Panel > System and Security > Backup and Restore (Windows 7). Click “Create a system image” and select backup destination (external drive, network location, or DVDs). Windows automatically selects required partitions including EFI system and recovery partitions. The process may take 15-60 minutes depending on SSD speed and data volume.
Control Panel\System and Security\Backup and Restore (Windows 7)
Solution 2: Command Line Backup (Administrator)
For advanced users, open Command Prompt as Administrator. Use the wbAdmin command to initiate backups without GUI:
wbAdmin start backup -backupTarget:E: -include:C: -allCritical -quiet
Replace “E:” with your backup drive letter. The -allCritical flag ensures recovery partitions are included. Verify with wbAdmin get versions to list available backups.
Solution 3: Third-Party Tools (Macrium Reflect Free)
Download Macrium Reflect Free for enhanced features like differential backups and mountable images. Create rescue media (USB) before emergencies. The interface simplifies excluding non-system files from images, reducing backup size. Scheduled backups maintain current recovery points without manual intervention.
Solution 4: File History + System Image Hybrid
Combine monthly system images with daily File History backups (Settings > System > Storage > Advanced Backup Options). This balances complete system protection with frequent file versioning. Store images on a different drive than File History backups for redundancy. Disable system image creation within File History settings to avoid duplication.
People Also Ask:
- Q: How often should I create system images? A: Monthly + before major updates/hardware changes
- Q: Can I restore to different hardware? A: Yes, but may require driver preparation
- Q: How much space is needed? A: 60-70% of used system drive space
- Q: Can I extract files without full restore? A: Yes – mount VHDX file in Disk Management
Protect Yourself:
- Test restore process before emergencies using virtual machine
- Use 3-2-1 backup rule: 3 copies, 2 media types, 1 offsite
- Encrypt backup drives with BitLocker
- Label backup media with creation dates
Expert Take:
“While cloud backups excel for file recovery, local system images remain the fastest way to restore a fully configured Windows environment – critical for professionals needing workstation-specific setups operational within hours after hardware failure.”
Tags:
- Windows 11 system image backup tutorial
- Full system recovery Windows 11
- Create Windows 11 recovery disk
- Wbadmin command examples Windows 11
- Differential backup Windows 11
- Restore system image to new hardware
*Featured image via source
Edited by 4idiotz Editorial System